Buy the plan, then install the profile on Wi-Fi before you leave. When you land, turn the travel line on and use it for mobile data. Most install hiccups come from skipping Wi-Fi during download or leaving home-line roaming on by mistake.
The short version
1) Sign in and open My eSIMs. 2) Tap Activate on the plan you bought. 3) Scan the QR, or use the Android or Apple button if you are already on that phone. 4) On arrival, turn the travel line on and enable data roaming for that line only. Keep your home number for SMS and calls if you still need them. Leave roaming off on your home line so you do not get a surprise bill.
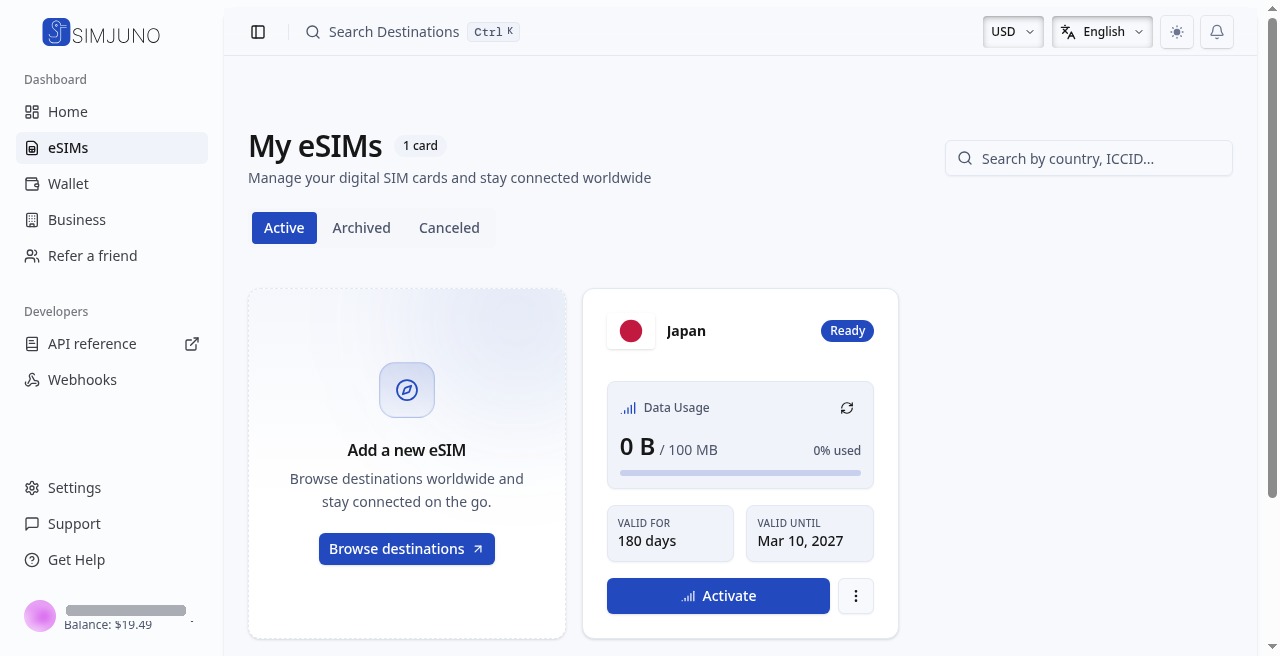
Find your plan in My eSIMs
After purchase, sign in and go to My eSIMs. You will see filters like Active, Archived, and Canceled, plus search. Each plan is a card with destination, status (Ready means it is waiting for you), data left, and dates. Tap Activate on the card you just bought. If you cannot find it, check you are on the right account and not looking under Archived.
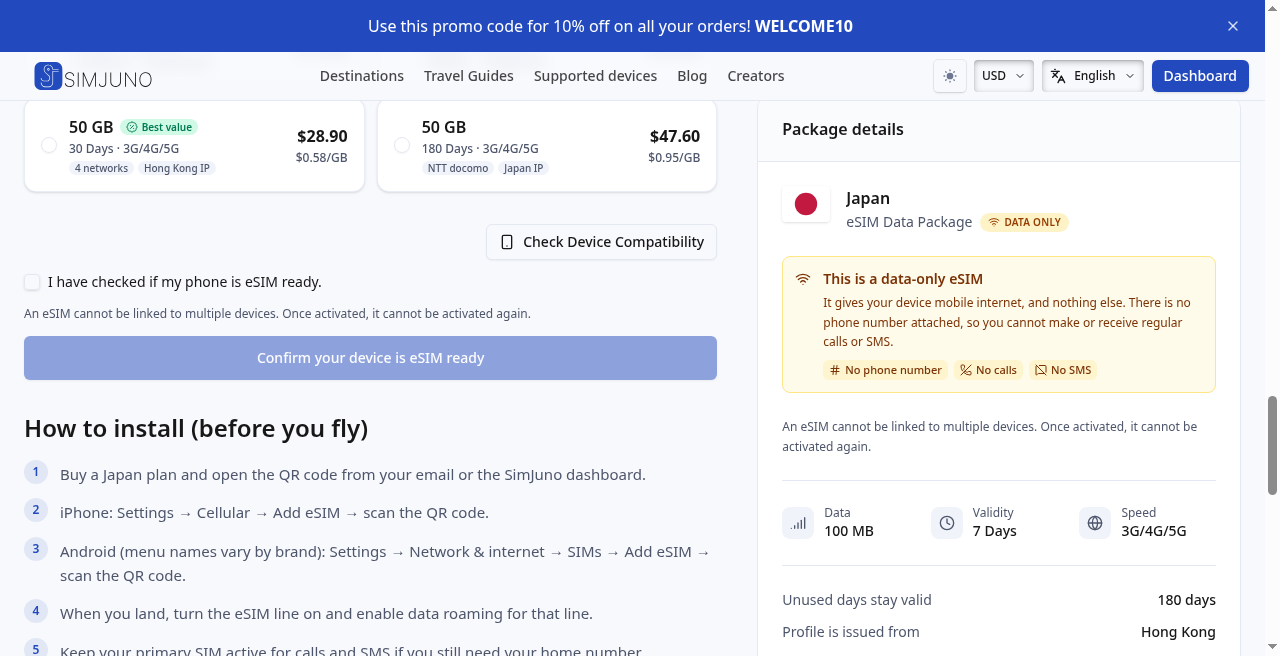
Want a preview before you fly? The public How to install steps on a page like the Japan destination page mirror what Activate will ask. Same flow, fewer surprises at the airport.
Install with QR or one tap
Activate gives you three options: scan the QR with the phone camera (or Add eSIM), or tap the Android or Apple button for one-tap install. Use one-tap when you are already on the phone that will carry the plan. Use QR when the code is on another screen, like a laptop. Stay on Wi-Fi until the profile finishes downloading. Cellular install mid-flight often leaves a half-finished profile.
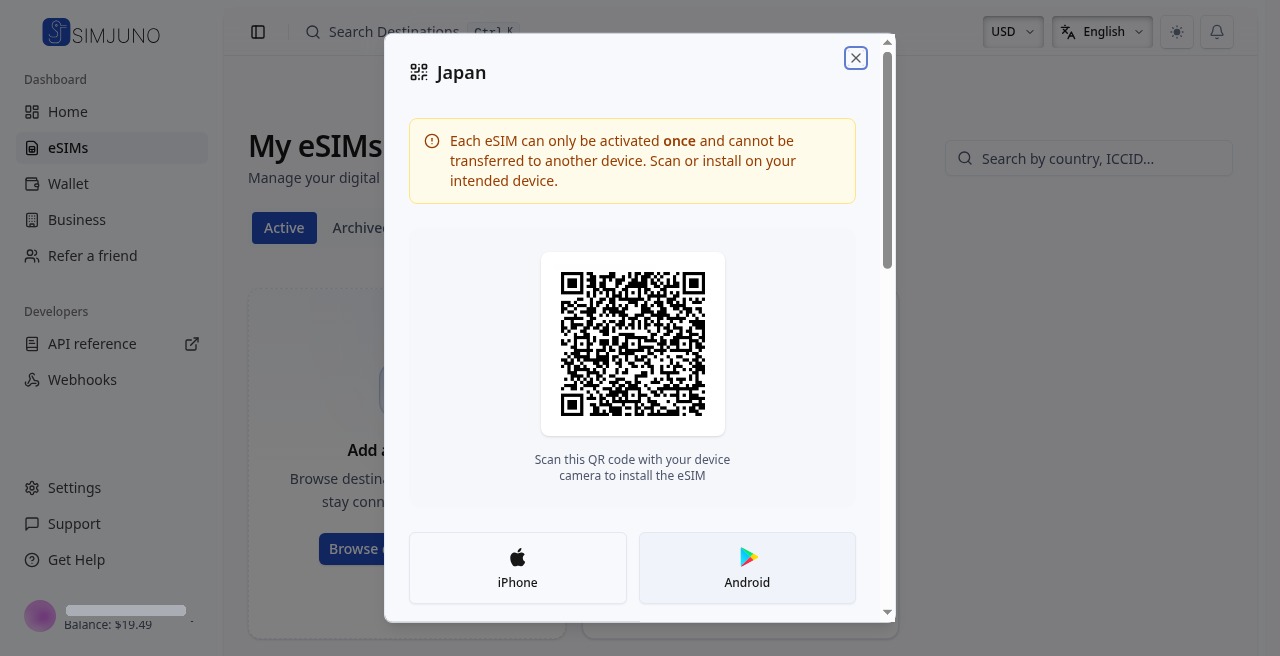
On iPhone: Settings, then Cellular (or Mobile Data), then Add eSIM. On Android: Settings, then Network and internet, then SIMs, then Add eSIM (labels vary by brand; look for Add eSIM). Do not turn Wi-Fi off mid-download.
Turn data on when you land
Installing the eSIM does not switch your traffic by itself. After it is on the phone, turn the travel line on. Enable data roaming for that travel line only. Set cellular data to the SimJuno line so maps and chat use travel data, not home roaming. Turn Airplane Mode off. Keep the home line on only if you still need bank codes or calls on that number. If data seems broken and you never selected the travel line for cellular data, flip that setting first.
If data does not start
Check three things before you contact support: Airplane Mode is off, the SimJuno line is selected for cellular data, and data roaming is on for that travel line. Retry the Android or Apple one-tap button, or scan the QR again while it is still on screen. Still stuck? Open Activate again and use the troubleshooting section below. Only copy network values from your own Activate screen. Do not paste codes from old forum posts.
Extra details for troubleshooting
Only open this if install or data still fails. On Activate, expand Manual Installation and Configuration. The screenshot shows where those fields live (IDs are redacted in the example).
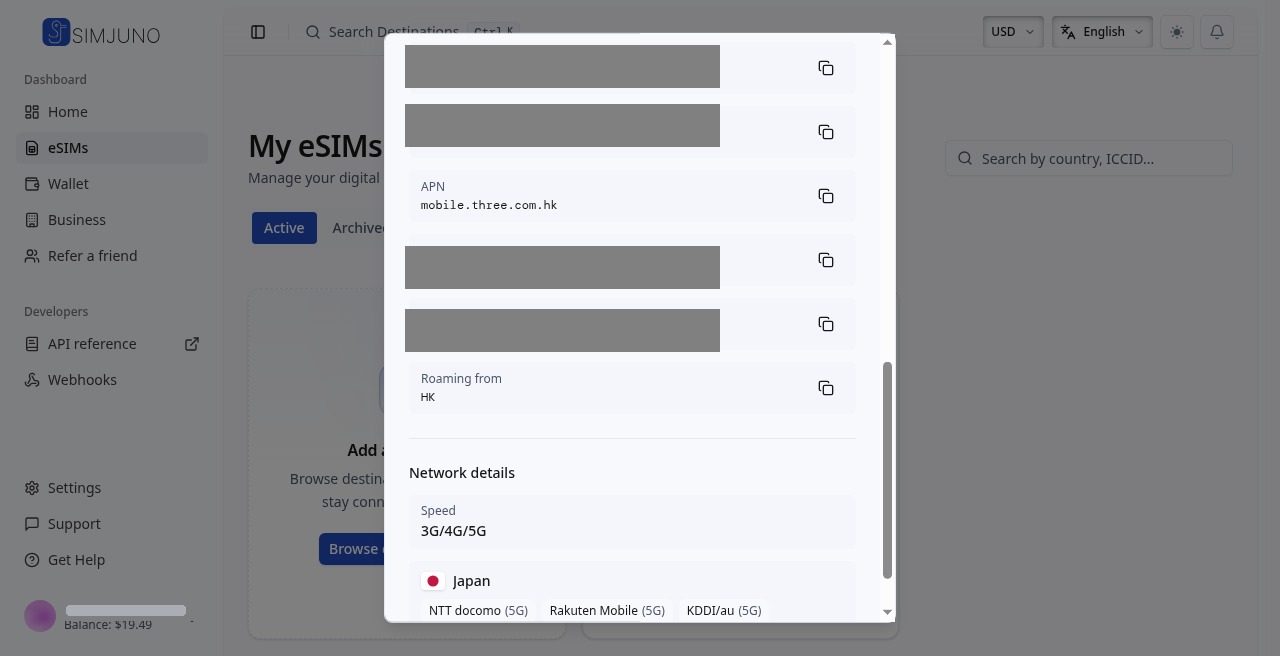
Manual Installation shows a server address and an activation code. Use those only when QR and one-tap both fail. Configuration lists the IDs and unlock codes for your plan, plus the access point name if your phone asks for one. Network details show speed, location, and carriers for that plan. Copy values only from your own Activate screen. Profiles are one-time: once activated, you cannot move them to another phone. For device fit, see eSIM supported devices. Finish install on Wi-Fi before you need curb data, then skim SimJuno travel guides for landing-day ideas.